Understanding Mould Growth in Bathrooms

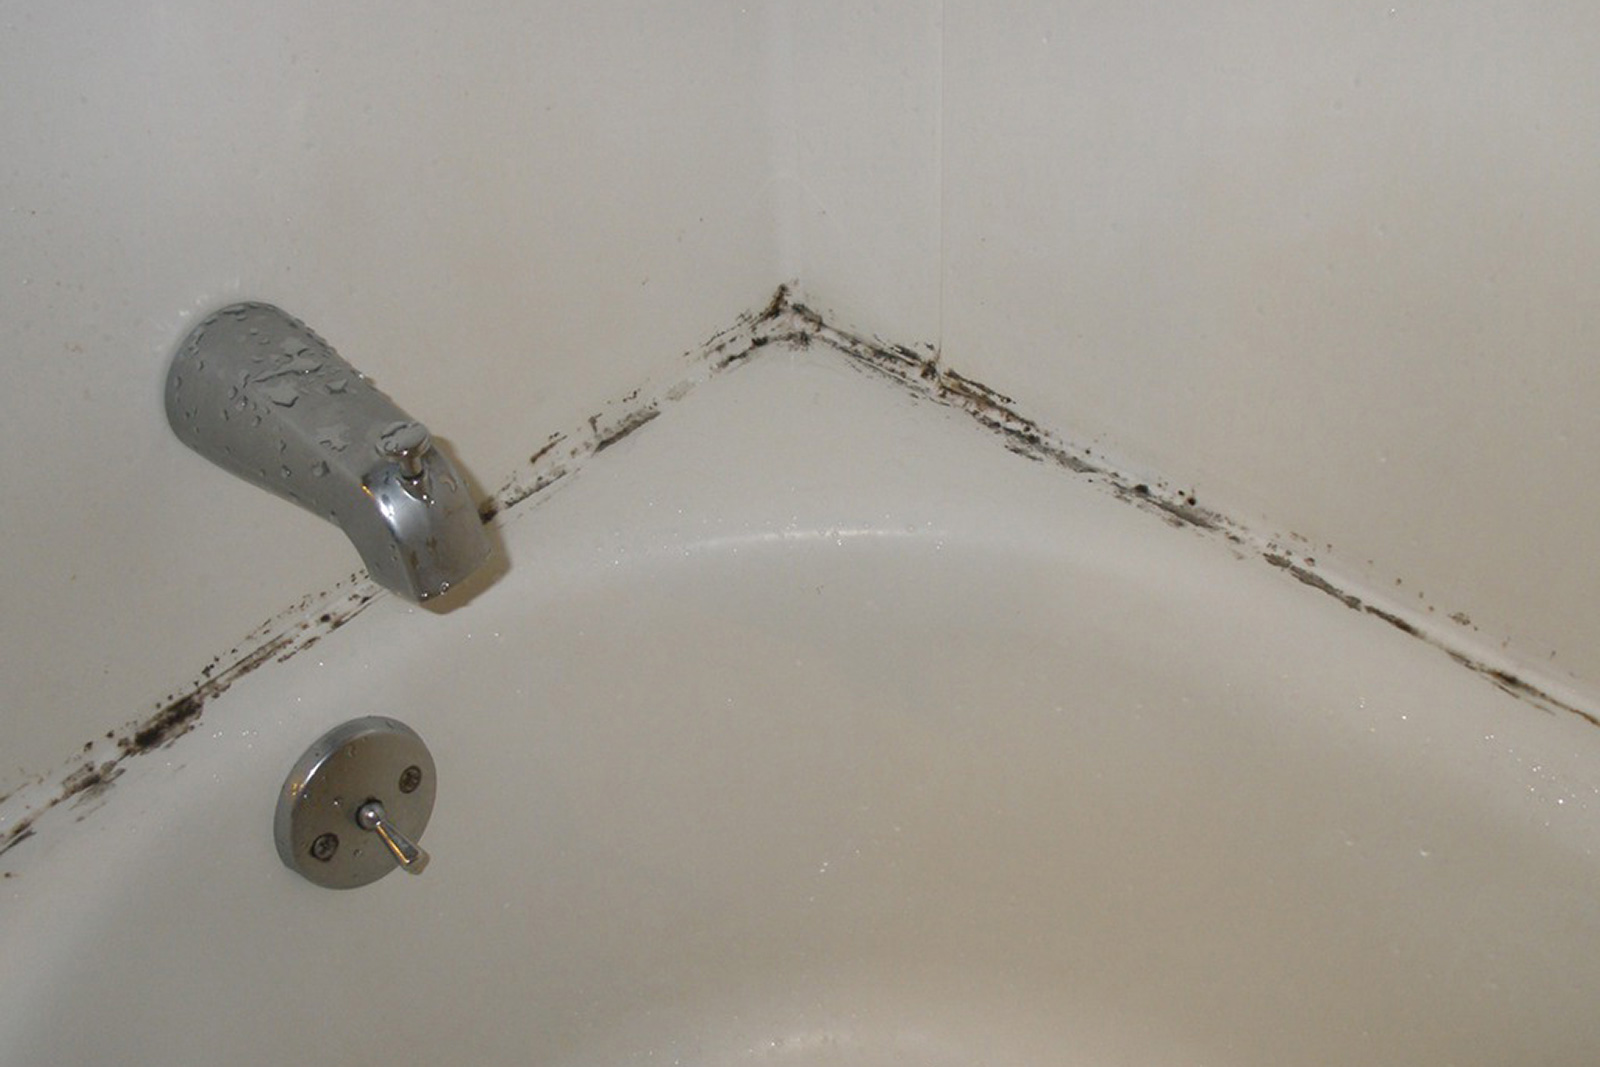
Bathrooms are prone to mould growth due to their inherent moisture-rich environment. The combination of humidity, lack of ventilation, and warm temperatures creates ideal conditions for mould spores to thrive.
Conditions Promoting Mould Growth
The presence of moisture is a key factor in mould growth. Showers, baths, and even simple handwashing activities release water vapor into the air, increasing humidity levels. Inadequate ventilation prevents this moisture from escaping, creating a damp environment that encourages mould proliferation. Additionally, warm temperatures, often found in bathrooms, accelerate the growth of mould spores.
Types of Mould and Their Health Risks
Several types of mould can be found in bathrooms, each with its own characteristics and potential health risks. Common types include:
- Cladosporium: This type of mould is often green or black and is commonly found in damp areas. It can cause allergic reactions, such as sneezing, coughing, and itchy eyes.
- Aspergillus: This mould, typically found in damp, warm areas, can cause respiratory problems, especially in individuals with pre-existing respiratory conditions. It can also cause skin irritation and allergic reactions.
- Penicillium: This mould is commonly found in bathrooms and can cause allergic reactions and respiratory problems. It can also produce mycotoxins, which are harmful substances that can affect the immune system.
Visual Characteristics of Mouldy Bathroom Ceiling Paint
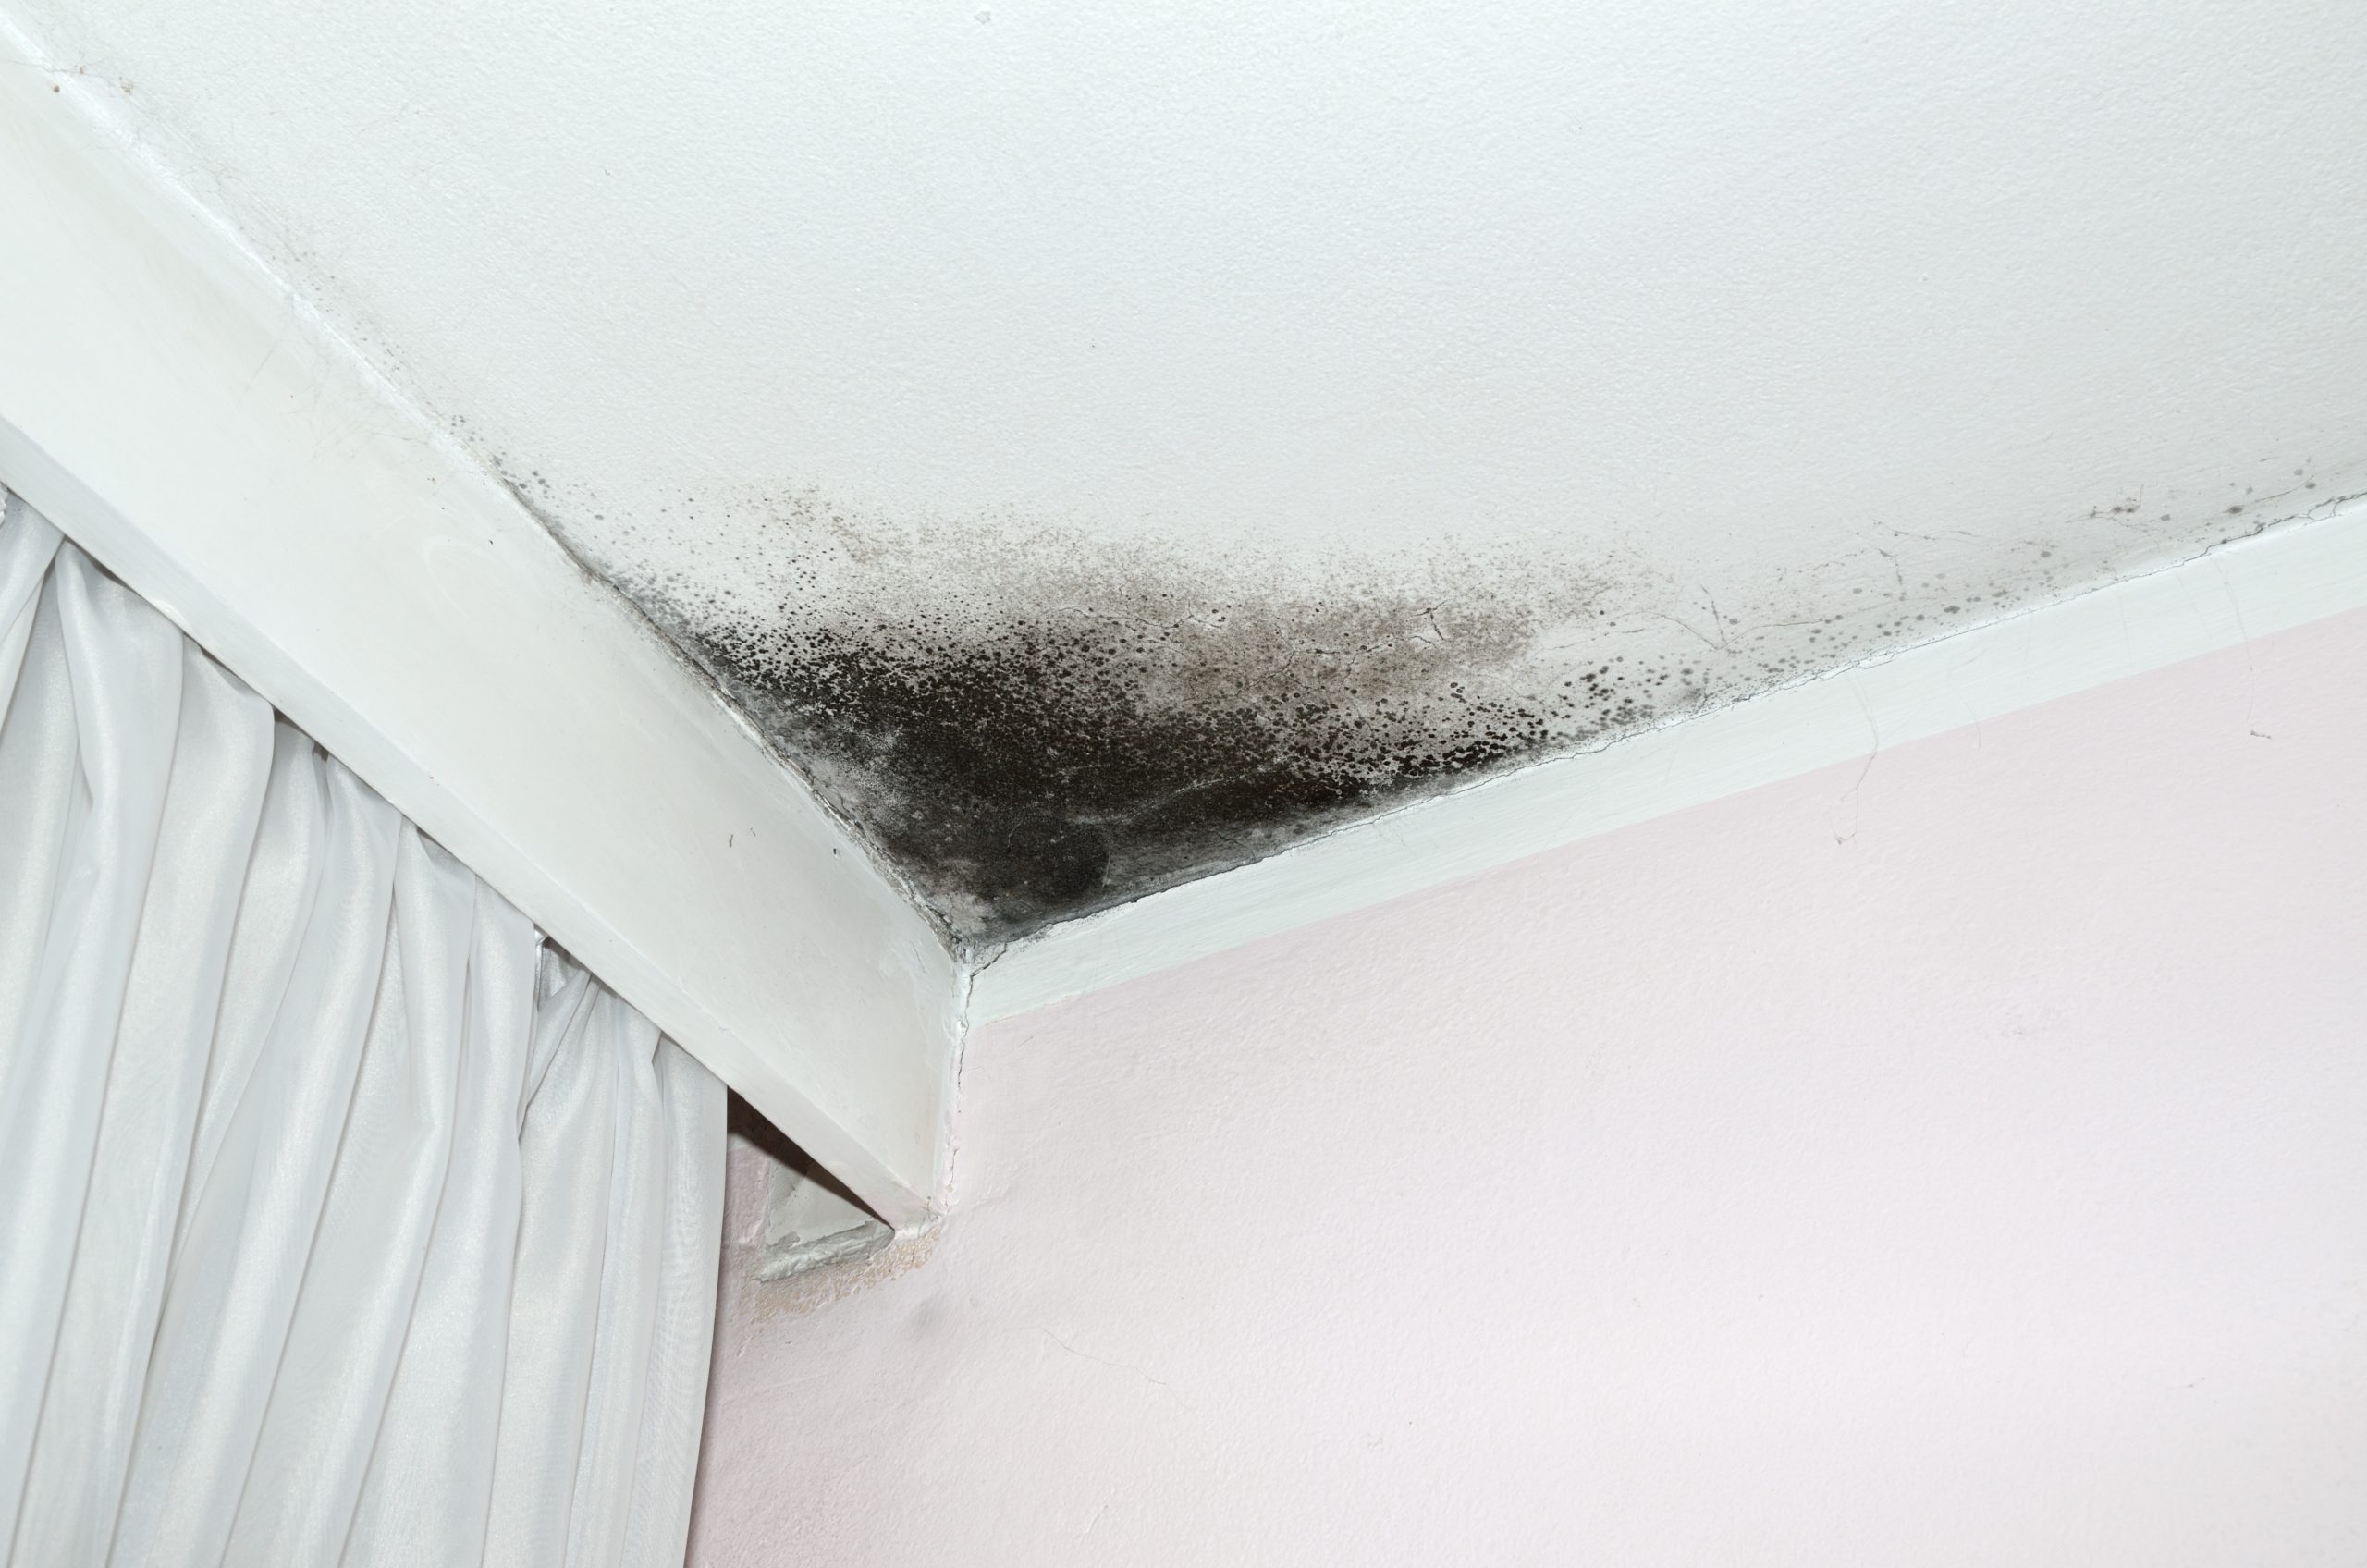
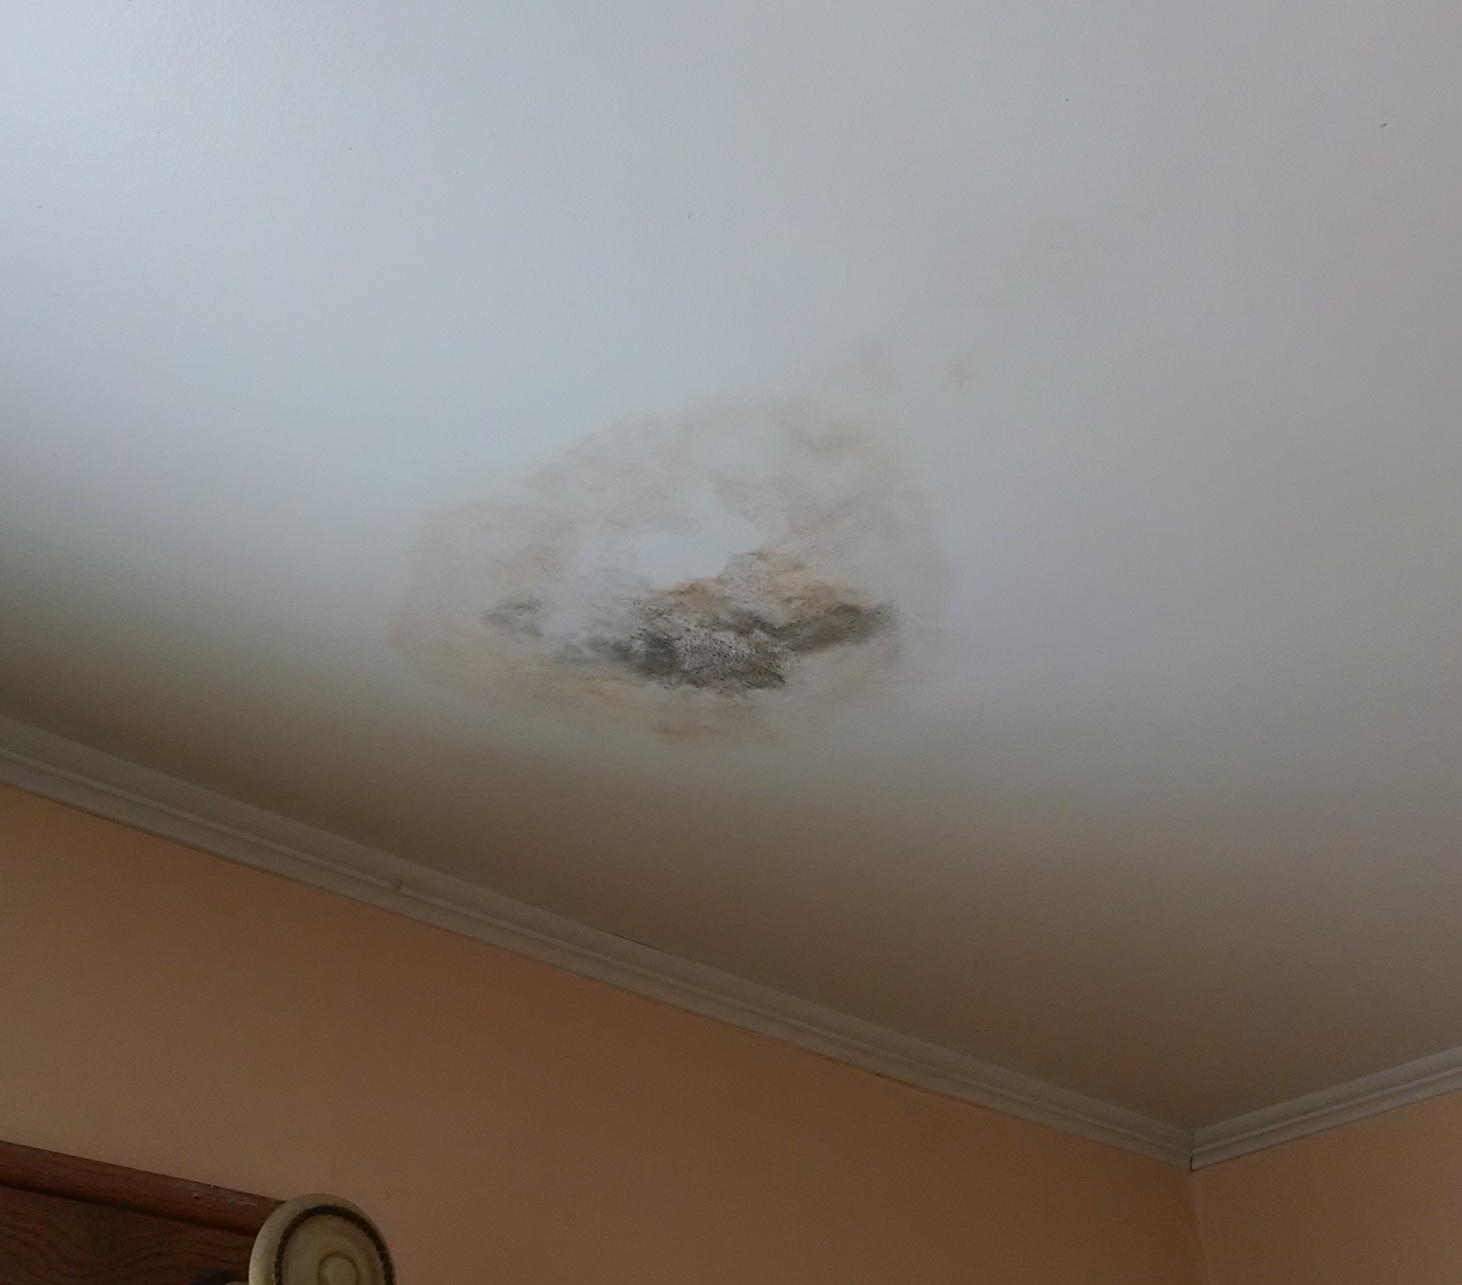
Mould growth on bathroom ceilings can be easily identified through visual cues. The paint may exhibit:
- Color Changes: The paint may appear discolored, with patches of black, green, brown, or gray.
- Texture Alterations: The paint may become rough, bumpy, or powdery due to mould growth.
- Musty Odor: A distinct musty or earthy odor may be present in the bathroom, indicating mould growth.
Identifying the Cause of Mould Growth

Pinpointing the source of moisture is crucial for effectively tackling mould growth in your bathroom. Understanding the origin of the problem allows you to address the root cause, preventing future outbreaks and safeguarding your health.
Identifying the Source of Moisture
A flowchart can help homeowners systematically identify the cause of mould growth on their bathroom ceiling.
- Is there visible water damage on the ceiling? If yes, proceed to step 2. If no, proceed to step 3.
- Does the water damage appear localized or widespread? Localized damage may indicate a leak, while widespread damage suggests a more significant problem like a plumbing issue or roof leak. Further investigation is required.
- Is there excessive condensation on the ceiling? If yes, proceed to step 4. If no, proceed to step 5.
- Is the bathroom well-ventilated? Poor ventilation can contribute to condensation. Ensure adequate ventilation by using an exhaust fan during and after showers.
- Is there a potential leak in the bathroom? Inspect the showerhead, faucets, pipes, and plumbing fixtures for leaks. Tighten any loose connections or replace faulty components.
- Are there any signs of water damage in surrounding areas? Investigate adjacent rooms or areas for water damage, as the source of the leak might be outside the bathroom.
Inspecting the Bathroom for Leaks
A thorough inspection of your bathroom is essential to identify potential leaks.
- Showerhead and Faucets: Examine the showerhead and faucets for drips or leaks. Replace worn-out washers or O-rings if necessary.
- Pipes: Inspect the pipes for signs of corrosion, cracks, or leaks. Look for water stains or dampness around pipes. Repair or replace any damaged pipes promptly.
- Plumbing Fixtures: Check the toilet, sink, and bathtub for leaks. Ensure all connections are tight and that the fixtures are functioning correctly.
- Grout and Caulk: Inspect the grout and caulk around the shower, tub, and sink for cracks or gaps. Replace any damaged grout or caulk to prevent water seepage.
- Flooring: Look for signs of water damage on the bathroom floor, such as warping, buckling, or discoloration. Investigate any suspicious areas for leaks.
Differentiating Between Condensation, Leaks, and Other Sources of Water Damage
Understanding the difference between condensation, leaks, and other sources of water damage is crucial for effectively addressing mould growth.
- Condensation: Condensation occurs when warm, moist air comes into contact with a cold surface, such as a bathroom ceiling. It often appears as small water droplets or a film of moisture. Adequate ventilation can help reduce condensation.
- Leaks: Leaks are caused by water escaping from pipes, fixtures, or other plumbing components. They typically result in visible water damage, such as dripping, staining, or dampness. Promptly addressing leaks is essential to prevent further damage.
- Other Sources of Water Damage: Other sources of water damage can include roof leaks, plumbing issues, or flooding. These events often cause widespread water damage and require professional attention.
Addressing Mouldy Bathroom Ceiling Paint

Mould growth on bathroom ceilings is a common problem, but it can be effectively addressed with the right approach. This section Artikels a step-by-step guide for removing mouldy paint from a bathroom ceiling, ensuring proper safety and disinfection.
Removing Mouldy Paint
Removing mouldy paint from a bathroom ceiling requires careful preparation and execution to ensure both safety and effectiveness. The following steps provide a comprehensive guide for tackling this task:
Safety Precautions
Before commencing any work, it is crucial to prioritize safety.
- Wear protective gear, including a respirator mask, goggles, gloves, and long-sleeved clothing, to minimize exposure to mould spores.
- Ensure adequate ventilation by opening windows and doors to create a draft, allowing fresh air to circulate and remove contaminated air.
- Avoid disturbing the mouldy area as much as possible to prevent the release of spores into the air.
Necessary Materials
To effectively remove mouldy paint, gather the following materials:
- A scraper or putty knife for removing loose paint.
- A damp cloth for wiping down the affected area.
- A cleaning solution of bleach and water (1:10 ratio) for disinfecting the surface.
- A primer specifically designed for mould-resistant surfaces.
- A mould-resistant paint suitable for bathroom ceilings.
- Paintbrushes, rollers, and a paint tray for applying the primer and paint.
- Drop cloths or plastic sheeting to protect surrounding areas from paint splatters.
- A ladder or step stool for reaching the ceiling.
- Heavy-duty garbage bags for disposing of contaminated materials.
Cleaning and Disinfecting
After preparing the area and materials, proceed with the cleaning and disinfecting process:
- Remove loose paint using a scraper or putty knife. Carefully scrape off any flaking or peeling paint, collecting the debris in a garbage bag.
- Wipe down the affected area with a damp cloth to remove any remaining loose paint or debris. Discard the cloth in a sealed garbage bag.
- Prepare the bleach solution by mixing one part bleach with ten parts water. Ensure adequate ventilation during this process.
- Apply the bleach solution to the affected area using a clean cloth or sponge. Allow the solution to dwell for at least 10 minutes, ensuring complete disinfection.
- Rinse the area thoroughly with clean water, removing all traces of bleach. Allow the surface to dry completely before proceeding to the next step.
Disposal of Contaminated Materials
Proper disposal of contaminated materials is crucial to prevent the spread of mould spores.
- Place all contaminated materials, including paint scrapings, cleaning cloths, and garbage bags, in sealed heavy-duty garbage bags.
- Dispose of the bags in an outdoor trash receptacle or according to local regulations for hazardous waste disposal.
Mould-Resistant Paints and Coatings
Selecting a suitable mould-resistant paint is crucial for preventing future mould growth.
- Acrylic latex paints are a popular choice for bathroom ceilings, offering good moisture resistance and durability. Look for paints specifically labeled as “mould-resistant” or “anti-fungal”.
- Epoxy paints are highly durable and resistant to moisture, making them an excellent option for areas prone to high humidity. However, they can be more difficult to apply than acrylic latex paints.
- Mould-resistant coatings are available as a separate product to be applied over existing paint. These coatings create a barrier that prevents mould growth and can be applied to various surfaces, including ceilings.
When choosing a mould-resistant paint or coating, consider the following factors:
- Moisture resistance: Ensure the product is specifically designed for high-moisture environments, such as bathrooms.
- Durability: Choose a paint or coating that can withstand frequent cleaning and wear and tear.
- Colour: Select a colour that complements the overall bathroom design and provides adequate light reflection.
- VOC content: Opt for low-VOC paints or coatings to minimize harmful emissions into the air.
